
Generic device monitoring
Note: Reports generated for these devices include device change information and baseline configuration compliance results only.
Enable live monitoring support
To enable live monitoring support, complete the following workflow:
- Specify the method for collecting data. For details, see Create data collection files for a generic device.
- Install the new brand. For details, see Install the new brand.
- Add the device to AFA. For details, see Add the device to AFA.
Create data collection files for a generic device
Note: AFA can connect to the device via SSH or REST, depending on the APIs supported by the device.
Do the following:
- Open a terminal and log in using the username "afa" and the related password.
- Copy the file /usr/share/fa/data/plugins/brand_configuration_template.xml, and name the new file "brand_config.xml".
-
Edit the tags as needed. For details, see Monitoring support tag reference.
To enable SNMP support, make sure to specify the relevant tags. See Collect routing information via SNMP.
-
Create the following graphics files of an icon that represents the device brand, where <brand_id> is the Id you defined in the DEVICE tag of the brand_config.xml file:
File name Description <brand_id>.16.png 16x16 pixel png
<brand_id>.35.png 35x35 pixel png
<brand_id>.45.png 45x45 pixel png
<brand_id>.150.png 150x150 pixel png
Install the new brand
Do the following:
- Open a terminal and log in using the username "afa" and the related password.
- Create a new directory /usr/share/fa/data/plugins/brand_name where brand_name is the name of the new brand.
- Place the brand_config.xml file and all the icon files into the new directory.
-
Run the following command:
/usr/share/fa/bin/fa_install_plugin<full path to brand_config.xml>
For example: /usr/share/fa/bin/fa_install_plugin /usr/share/fa/data/plugins/BrandX/brand_config.xml
-
If you are logged into the ASMS web interface, logout and then log back in.
Note: This is necessary because configuration is loaded only upon login. If changes are made to a brand_config.xml file while logged into the web interface, they will take affect only after logging out and logging back in.
The new device will now appear as an option in the web interface when adding a new device to AFA.
Add the device to AFA
Do the following:
- Log into the AFA web interface.
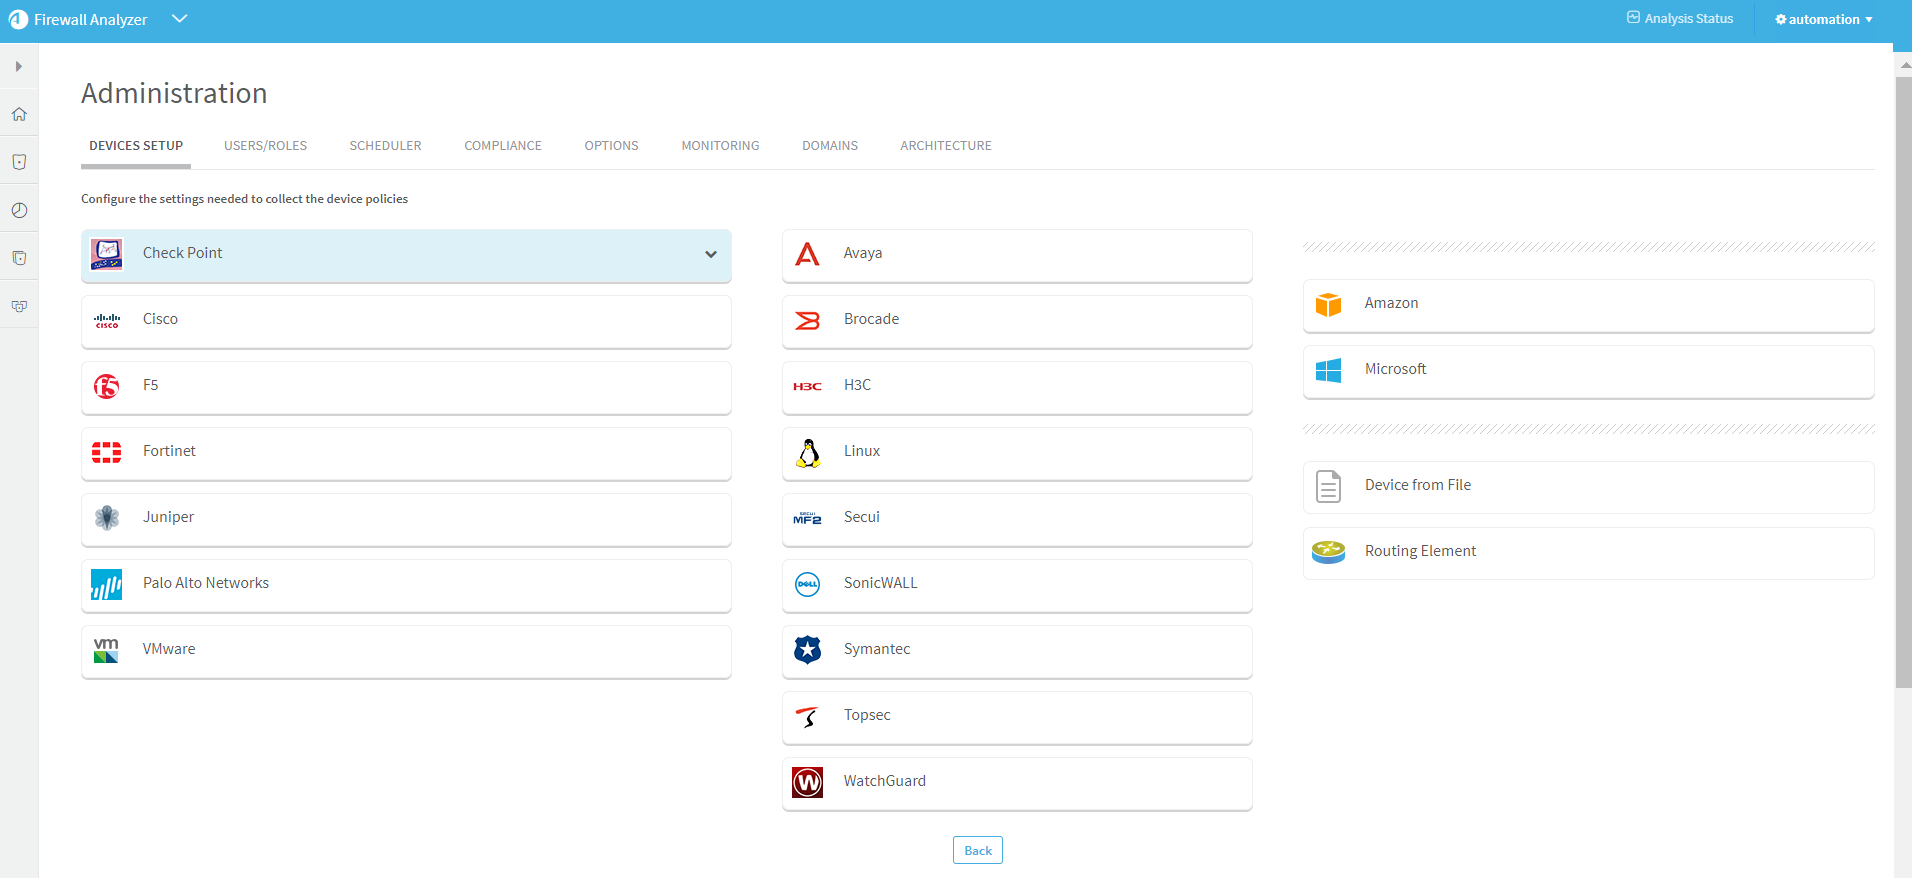
- Access the Devices Setup page. For details, see Access the DEVICES SETUP page.
-
Click New, and then click Devices.
The vendor device selection page appears.
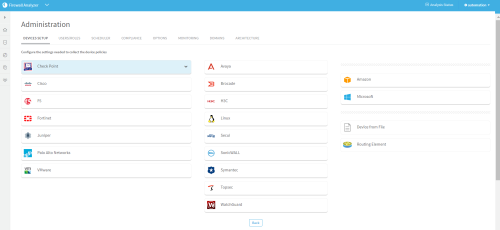
- In the vendor's list, choose the new device type.
- Complete the fields with the device's information.
-
Click Finish.
The new device is added to the device tree.
-
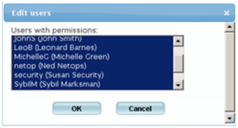
If you selected Set user permissions, the Edit users dialog box appears.
-
Set which users will have access to the reports produced by the device, by doing the following:
-
Select the users to have access.
To select multiple users, hold down the Ctrl key while clicking on the desired users.
-
Click OK.
A success message appears.
-
-
Click OK.
Collect routing information via SNMP
You can use SNMP to retrieve the routing table for devices. The procedure below describes the tags you must add to the config_brand.xml file to enable this option for a device.
Note: SNMP versions 3 and 2c are supported.
Do the following:
- Open the device’s brand_config.xml file.
-
Under the <DEVICE> tag, add the following tag:
<FORM_FIELD id="snmp" title="SNMP" type="fieldset"/>
-
Under the <FEATURES> tag, add the following tag:
<FEATURE name="topology" script="snmp2urt"/>
-
Save your changes.
For an example, see Configuration file example with routing.
Configuration file example
<?xml version="1.0" encoding="UTF-8" standalone="no" ?>
<DEVICE id="netfilter" name="iptables" title="Linux netfilter - iptables">
<FORM_FIELD id="root_psw" title="root password" type="password" />
<DATA_COLLECTION prompt="\]\s*[#$]\s*$" more_prompt="^\s*-+\s*[Mm]ore\s*-+\s*$">
<COMMANDS_SEQUENCE>
<CMD id="1" command="su -" save_output="no" condition="root_psw" prompt="sword:\s*$" />
<CMD id="2" command="%root_psw%" save_output="no" condition="root_psw" prompt="\]\s*#\s*$" />
<CMD id="3" command="route" save_output="yes" />
<CMD id="4" command="iptables -L" save_output="yes" />
</COMMANDS_SEQUENCE>
<EXIT_COMMAND command="exit" />
</DATA_COLLECTION>
<DIFF context_lines="5" />
<EXCLUDE regex="no exclusions defined" />
</DEVICE>
Configuration file example with routing
<?xml version="1.0" encoding="UTF-8" standalone="no"?>
<DEVICE id="edev" name="Elad Dev" title="Elad security dev">
<FORM_FIELD id="snmp" title="SNMP" type="fieldset"/>
<CONNECTION_CMD id="ssh" command="ssh -l %user_name% %host_name% " title="SSH-cmd"/>
<DATA_COLLECTION prompt="^ASisg1000->" more_prompt="^\s*---\s*more\s*---\s*$">
<COMMANDS_SEQUENCE>
<CMD id="1" command="get conf" save_output="yes" />
</COMMANDS_SEQUENCE>
<EXIT_COMMAND command="\x04"/>
</DATA_COLLECTION>
<DIFF context_lines="5"/>
<FEATURES>
<FEATURE name="topology" script="snmp2urt"/>
</FEATURES>
</DEVICE>
