
This topic describes how to add and edit network objects in AppViz.
Add a network object
Do the following:
-
In AppViz, from the main menu on the left, click NETWORK OBJECTS.
-
Click +New Network Object.
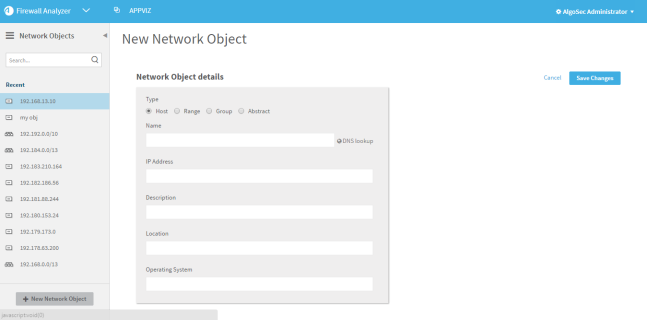
The New Network Object form appears in the workspace.
-
Complete the fields as needed. For details, see Network object fields.
-
Click Save Changes.
The Save Network Object dialog box appears.

- Click OK.
The network object is created, and the DASHBOARD tab appears. For details, see Network object dashboard.
The following topic describes the fields available for network objects in AppViz.
|
Type |
Select one of the following:
When editing or cloning a network object, you cannot change the type. |
|
Name |
Type the name of the network object. |
|
DNS Lookup |
Click to lookup the IP address. This link only appears when the type is Host. |
|
Description |
Type a description for the network object. This field does not appear when cloning a network object. |
|
IP Address |
Type the IP address. This field only appears when the type is Host. |
|
IP Addresses |
Type the range of IP addresses in range or CIDR notation. This field only appears when the type is Range. |
|
Members |
Do one of the following:
Note: Objects that are rejected, pending deletion, or pending creation cannot be added as members of a group. To remove objects from the Members field, click X. This field only appears when the type is Group. |
|
Location |
Type the location of the network object. This field does not appear when cloning a network object. |
|
Operating System |
Type the operating system for the network object. This field does not appear when cloning a network object. |
Add a new network object to a group
To add a new network object:
-
The Add New Network Object dialog box opens.
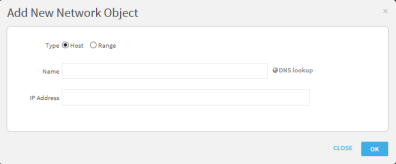
- Select the type.
- In the Name field, type the name of the new object.
-
To perform a reverse DNS lookup on the network object Name, click DNS lookup.
If the IP address is found for the object, the address is inserted in the IP Address field.
- If reverse DNS lookup was not used or was unsuccessful, type a the IP address in the field.
- Click OK.
