
This topic describes how to add and edit network objects in AppViz.
Add a network object
Notes:
- Consult the Network object fields table below as you add a new network object.
- To perform procedures in this section, the user's permissions must include the Edit Network Objects. If you cannot perform this procedure, consult your System Administrator.
- Go to AppViz -> Administration
- Click Manage User Settings and Permissions
- Select User
- Verify that Permissions is selected
- In Network and Service Objects section, select Edit network object


To add a new object, do the following:
-
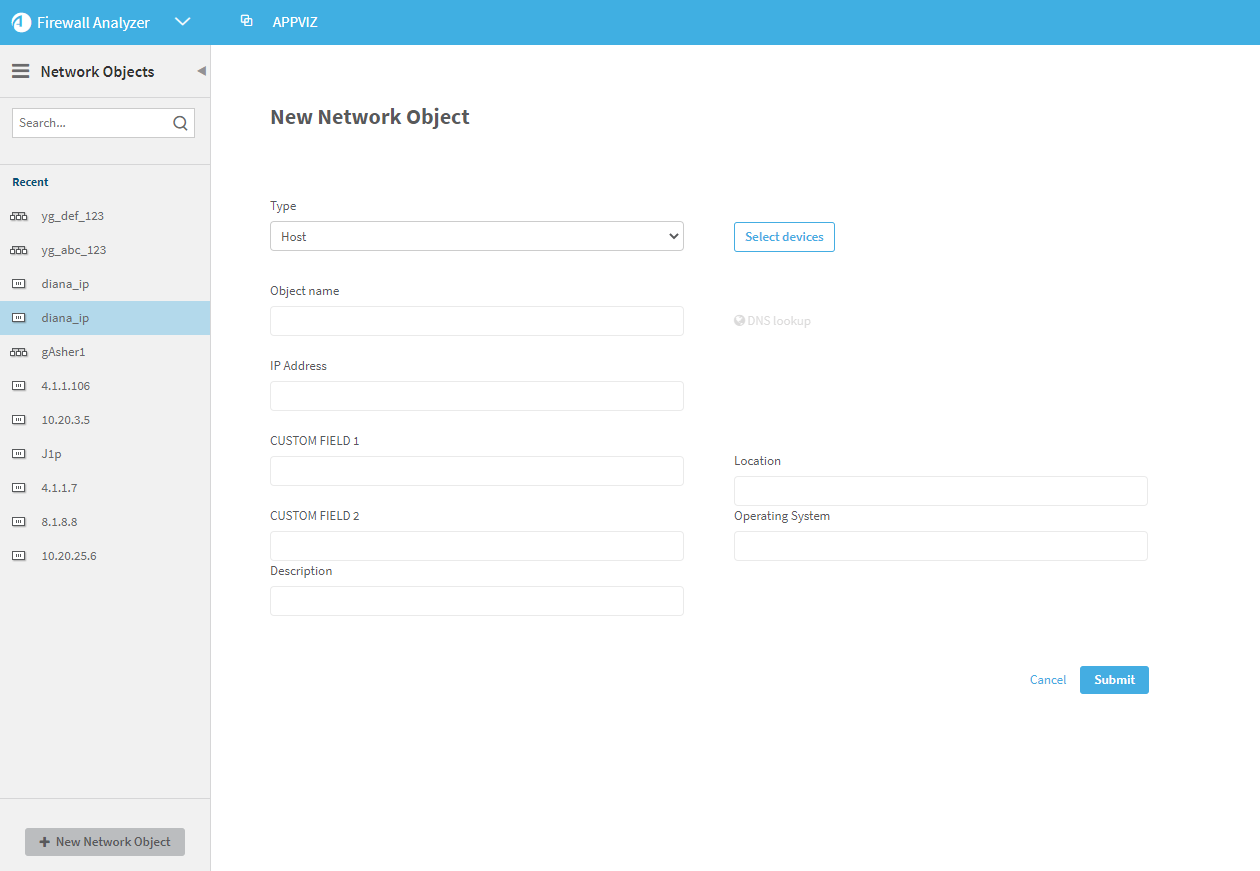
In AppViz, on the main menu on the left, click NETWORK OBJECTS.
-
Click +New Network Object at the bottom left.
The New Network Object form is displayed in the workspace.

-
Complete the fields as required. For details, see Network object fields.
Note: The Type, Object Name and IP Address fields are mandatory. - Optionally, click on the Select Devices button to add the Network Object to one or more devices via the tree of devices displayed.
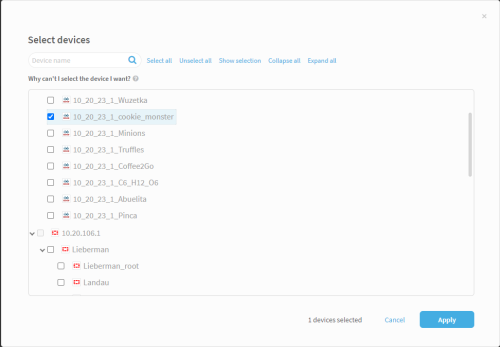
Important: Only devices that are supported by AppViz and have undergone analysis in AFA are displayed in this tree. If you do not find the device you require (and all its levels) here, verify that it is supported by AppViz and that it has undergone analysis (on all its levels) in AFA.
Note: A network object can be added to or subtracted from devices via the dashboard at anytime.
Tip: Try all the buttons at the top of the Select Devices window. Selected devices can be far from each other in the tree, but show selection will show you all selected devices in a spatially contiguous list. - To keep the device selections displayed including your last changes, click Apply, or click Cancel to revert to the last applied selected devices configuration for the network object.
The Select Devices window closes. -
From the displayed Network Object window, click Submit.

The network object is created, and the DASHBOARD tab appears. For details, see Network object dashboard.
Edit a network object
Note:
- The Type field cannot be modified.
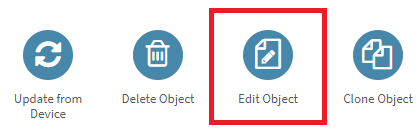
- When an network object is in a change process, it cannot be edited; the Edit object button and delete object button are disabled.
1. Select the network object from the list in the left menu panel.
2. To edit Object Name and IP Address fields, or to add the network object to a device, click on the Edit button on the dashboard.
3. Edit the fields and selected devices as described in Add a network object , steps 3-6.
Note: When editing network object, remember that
- Unlike adding a new object, during editing updating object content and adding objects to devices are two separate actions, each with it's own Apply button. (For example, one may update object content and click apply and then add object to devices and click apply again. )
- The object name of a device object cannot be changed
- [Network] Objects imported from a csv file cannot be added to a device
The following topic describes the fields available for network objects in AppViz.
|
Type |
Select one of the following:
Note: When editing or cloning a network object, you cannot change the type. |
|
Object name |
Enter the name of the network object. |
|
DNS Lookup |
Click on this button to lookup the IP address. This link only appears when the type is Host. |
|
Description |
Enter a description for the network object. This field does not appear when cloning a network object. |
|
IP Address |
Enter the IP address. This field only appears when the type is Host. |
|
IP Addresses |
Enter the range of IP addresses in range or CIDR notation. This field only appears when the type is Range. |
|
Members |
Do one of the following:
Note: Objects that are rejected, pending deletion, or pending creation cannot be added as members of a group. To remove objects from the Members field, click X. This field only appears when the type is Group. |
| Description | Enter a description of the network object. |
|
Location |
Enter the location of the network object. This field does not appear when cloning a network object. |
|
Operating System |
Enter the operating system for the network object. This field does not appear when cloning a network object. |
| Custom Fields | Two custom fields are for use as required by the ASMS owner. |
| Select Devices | Click on this button to select devices to which the network object should be added. |
