
Initial planning
Relevant for: Network operators
This section describes how network operators can perform initial planning for traffic change requests or Web filtering change requests.
Initial planning includes defining the requested change's details, determining whether the change is necessary, and specifying the affected devices on which the requested change should be implemented.
If you select multiple devices or policies, FireFlow creates multiple requests with the same details for each device or policy.
Tip: We recommend enabling real-time monitoring before planning changes to ensure that the latest data is used to plan the change.
Note: A change request's stage is indicated by the Change Request Lifecycle Status Bar. For details, see View change requests.
 Auto-Confirm Devices in the Plan Stage: Watch to learn how to automatically confirm devices in the Plan stage of a change request.
Plan traffic changes
Do the following:
-
View the change request. For details, see View change requests.
-
If you were not assigned this change request, click Take Ownership at the top of the page.
You are now the change request's owner.
Note: This button only appears if you were not assigned this change request.
-
If the Initial Plan results are outdated, recalculate the initial plan by clicking Recalculate Initial Plan.
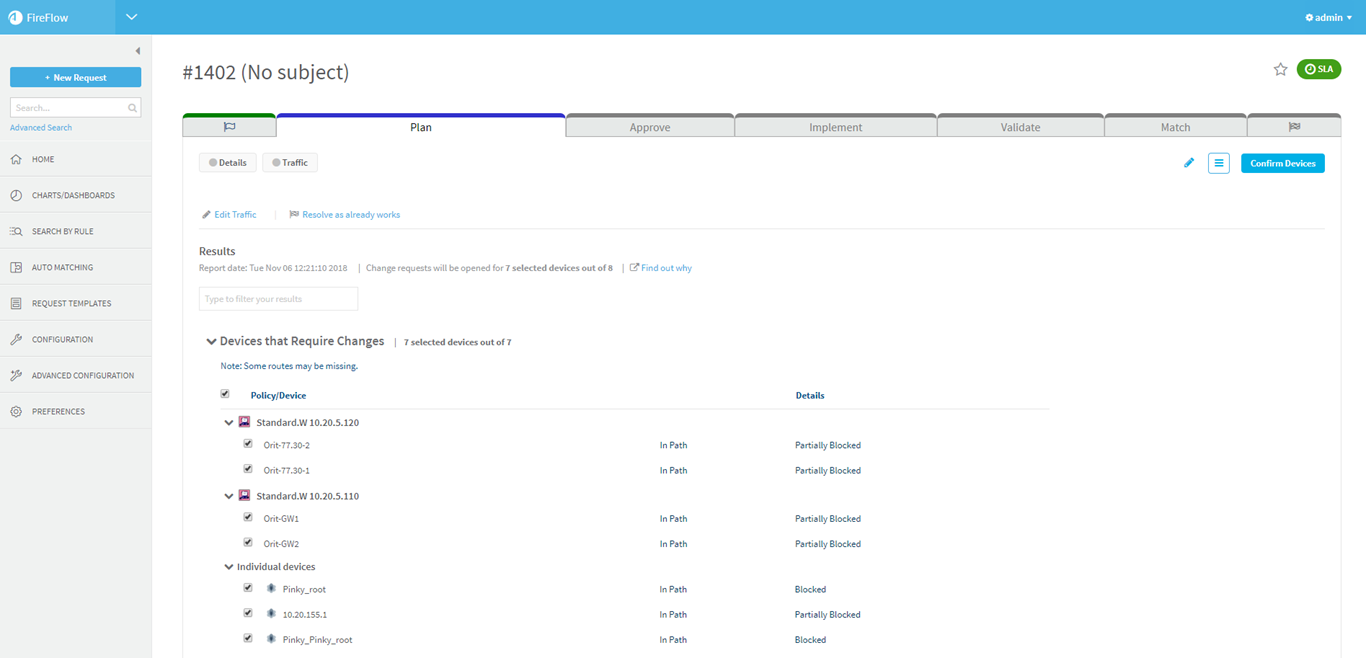
The change request appears displaying its initial plan Results.
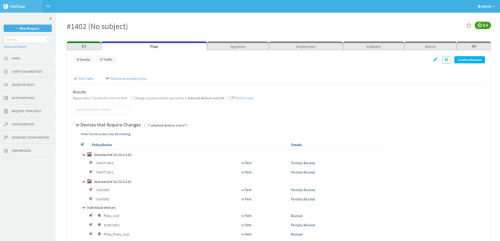
In the Results area, each device or policy relevant for the change request appears. The Details column indicates whether the specified traffic is blocked or partially allowed. If the change request includes both "Allow" and "Drop" actions, the connectivity details appear in the Traffic to be allowed and Traffic to be blocked columns.
Note: If initial plan failed on one or more devices, a notification appears with a link to find out why.
 Policy-based change requests
FireFlow uses policy-based change requests for Palo Alto Networks Panorama, Check Point, Fortinet Fortimanager, and Junos Space Security Director. During initial planning, FireFlow will suggest relevant policies (the policies on the relevant devices).
- FireFlow will always recommend the highest level policy under the global policy.
- Additionally, FireFlow will recommend installing the change on all devices with the policy.
If desired, you can set FireFlow to only install changes on the relevant devices or simply to always use device-based change requests.
AWS and Azure "device" handling
FireFlow does not support AWS for drop traffic change requests.
For more details, see Amazon Web Services and Microsoft Azure "Devices".
Disaster recovery devices
If FireFlow suggests (or you manually select) devices that are a part of a Disaster Recovery (DR) set, an additional column appears, indicating which devices were found in path and which were added because of their inclusion in the DR set.
NAT traffic changes
If the change request includes traffic with NAT, the Results table includes a NAT column to indicate which devices have at least one NAT rule. In addition, the NAT Settings link appears above the results area, allowing you to specify when translation is done by the device.
By default, if the change request already works, FireFlow will automatically close it. However, if handling of NAT-only traffic changes is configured, FireFlow will keep the change request open and use the NAT values in the risk check and work order.
Palo Alto Networks Panorama devices
For Palo Alto Networks Panorama devices, FireFlow will always recommend changing the lowest device group. If a higher level device group blocks the traffic the change request is attempting to allow, the traffic will still not be allowed after the work order is implemented. To allow the traffic you must manually change the higher level device group.
Cisco Firepower devices
For Cisco Firepower devices, FireFlow will always recommend implementing changes at the lowest policy level.
-
Do any of the following as needed:
Modify selected devices/policies
If desired, modify the selected devices/policies, by doing one or more of the following:
-
In the Results area, select the devices on which to implement the change.
If more than one device or policy is selected, a request will be created for each device or policy.
-
To specify a device that does not appear in the Results area, do the following:
-
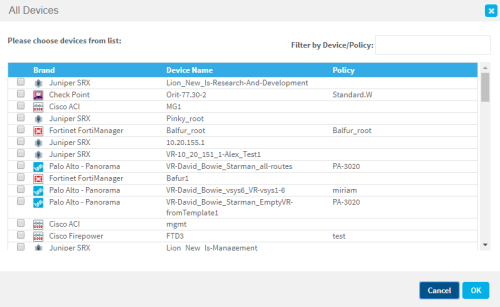
Click Add More Devices.
The All Devices dialog is displayed.
-
Select the desired device(s) for the change request by doing the following:
-
For all device brands other than AWS or Azure, select the check box for the desired device(s).
-
For AWS or Azure, do the following:
-
Select the desired security set(s).
-
In the Policy Name column, select the security group.
If multiple devices or policies are selected, a request will be created for each device or policy.
-
Click OK.
-
-
-
Edit NAT settings
For change requests including traffic with NAT, do the following to edit the NAT settings that FireFlow will use throughout the change request's lifecycle:
-
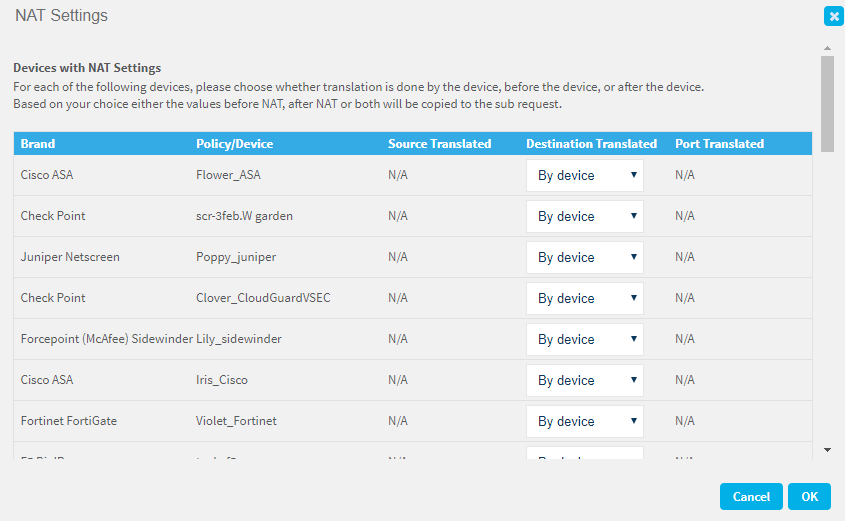
Click NAT Settings.
The NAT Settings window is displayed.

-
For each device with NAT settings (that is, the device has at least one NAT rule), select where the source, destination or port was translated:
-
Before device: The translation is performed before this device.
-
By device: The translation is performed by this device.
-
After device: The translation is performed after this device.
-
-
For each device without NAT settings, select where the source, destination or port was translated:
-
Before device: The translation is performed before this device.
-
After device: The translation is performed after this device.
-
-
Click OK.
Note: If you define a new device in AFA that performs NAT or you add a NAT rule to a device that previously had no NAT rules, you must analyze the device before FireFlow can provide accurate default values.
Modify traffic
If you want to modify the traffic, do the following:
-
In the Traffic area, modify the traffic fields as desired. For details, see Change request field references.
-
Click Save and Recalculate.
FireFlow indicates the differences between the traffic and the installed policy.
-
Click Start Initial Plan.
FireFlow recalculates the initial plan, based on the new traffic.
Recalculate initial planning on a different device group
Do the following:
-
In the Already works area, select the desired device group in the drop-down menu.
-
Click Save and Recalculate.
FireFlow examines the selected devices' latest installed policies.
- If the requested traffic is already allowed, click the Resolve as already works link at the top of the page.
Contact the requestor
If the traffic details are incomplete, contact the requestor for additional details. For details, see Respond to change requests.
View a detailed report about affected devices
To view a detailed report on the device(s) that will be affected by the requested change, at the top of the results area, click
 .
. The traffic simulation query report provided by AFA opens in a new window, including all of the relevant devices for the change request. You can drill down to view the relevant device rules in the affected device(s).
Note: This report (not including the network map) is also available when viewing the change request. For more details, see View change requests.
-
-
Click Confirm Devices.
If multiple devices were selected, FireFlow creates a change request for each device and policy (sub-requests).
The change request moves to the Approve stage.

Note: If desired, you can enable asynchronous sub-request creation. This enables you to complete other tasks while FireFlow creates sub-requests for each device or policy relevant to the change request.
If the initial plan identified that NAT rules are already in place and that NAT is taking place in one or more devices in the path of the requested traffic, then the traffic of devices that are located after the NAT took place in the path will be modified accordingly. You will see the following label next to the traffic of that device to indicate that NAT took place  .
.
For change requests requesting traffic with NAT, requests will include only the relevant addresses. A request for a device that is located before NAT will only include the before translation address, a request for a device that is located after NAT will only include the after translation address, and the request for a device that performs NAT will include the before translation and after translation addresses.
Plan web filtering changes
Here is a description of how to plan Web Filtering changes.
Do the following:
-
View the change request. For details, see View change requests.
-
If you were not assigned this change request, click Take Ownership at the top of the page.
You are now the change request's owner.
Note: This button only appears if you were not assigned this change request.
-
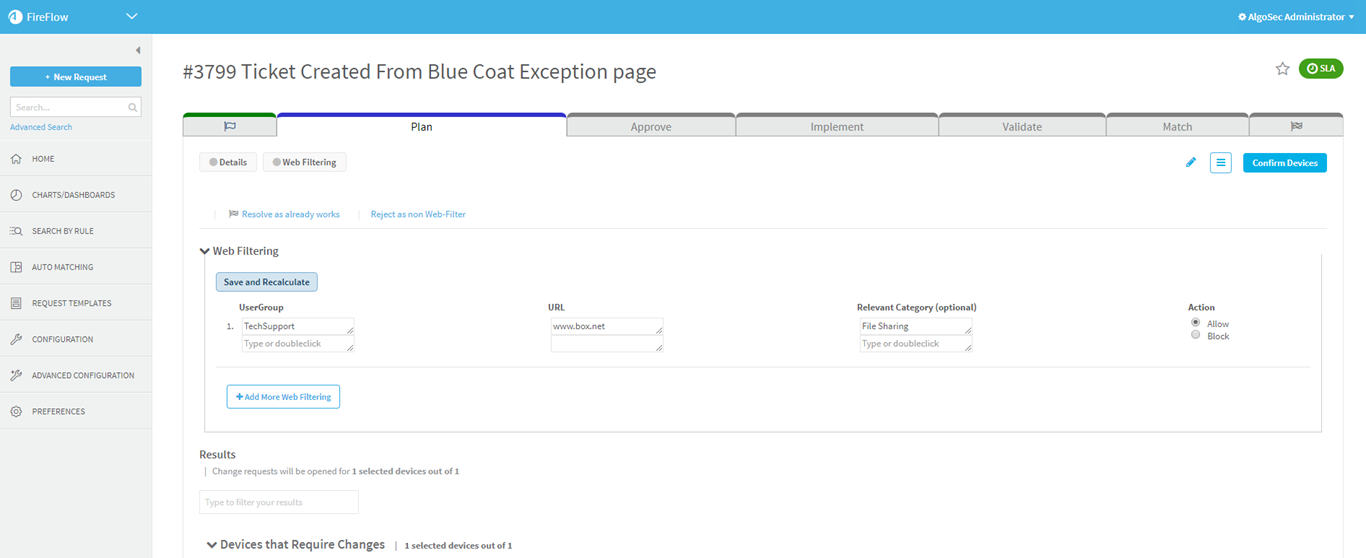
Click Initial Plan.
The Web Filtering and Results areas appear.

-
In the Results area, specify the devices that are relevant to this request, by doing any of the following:
-
Select the check box next to its name to select an individual device in the list.
-
Select the check box on the heading line to select all devices in the list.
-
Clear the check box on the heading line to select none of the devices in the list.
If more than one device or policy is selected, a request will be created for each device or policy.
-
-
If the change request already works, do the following:
-
Click Resolve as already works.
A confirmation message appears.
-
Click OK.
The Request Already Works message page appears.
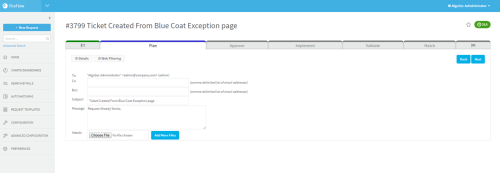
-
Configure the fields as needed. For details, see Respond to change requests.
-
Click Next.
The change request is resolved.
-
-
If the problem that prompted the requestor to submit this change request was not caused by Web Filtering, do the following:
-
Click Reject as non Web-Filter.
A confirmation message appears.
-
Click OK.
The change request is rejected and closed.
-
-
If you are not satisfied with the results and want to modify the Web filtering details or the device group, in the Modify Traffic area, modify the Web filtering fields as desired.
For more details, see Change request field references.
-
Click Next.
The change request proceeds to the Approve stage.
If you have the network operations role only (and not the information security role), the Home page is displayed.

Select devices manually
Network operation users working with IPv6 or multicast traffic change requests may need to select devices manually.
If multiple devices or policies are chosen, FireFlow creates a request with the same technical details for each device or policy.
Tip: Even if the user who submitted the change request specified devices, this action allows the privileged user to modify the selected devices.
Note: Only Cisco IOS/ASA devices are supported for IPv6 workflows. All types of Cisco devices are supported for Multicast workflow.
Do the following:
-
View the change request. For more details, see View change requests.
-
If you were not assigned this change request, click Take Ownership at the top of the page.
You are now the change request's owner.
Note: This button only appears if you were not assigned this change request.
-
At the top of the page, click Choose Devices.
The Device Name field appears.
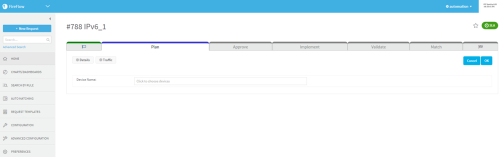
-
Click in the Device Name field.
The Select Devices Wizard appears. For details, see Change request wizards.
- Click OK.

